![[PukiWiki] [PukiWiki]](image/pukiwiki.png)
![[PukiWiki] [PukiWiki]](image/pukiwiki.png)
|
This page,Boss BLACK THUNDER capture information is posted. Points I would like to know first †The basic system is similar to White Steel, Red Napalm. However, Black Thunder specific specifications such as buffing in the field exist. Even if we lose, the loss will be defeated with only the challenge cost & time over †When you lose the battle with Black Thunder, you can do the resurrection in the refrigerator with Free Despite consumption of the equipment used, the cost for return is zero. If it can not be defeated within the time limit, it will result in Death Objects are subject to destruction with HP †HP is set for the object installed in the battle area, so it can be destroyed with constant damage. Let this object come in handy to overcome enemy attacks, so try not to fight as close as possible. It is best to approach only at the timing of utilization. Buffing takes place during battle †While fighting with Black Thunder, buff takes shape. There are also cases where the enemy becomes advantageous, and the buff is taken against here. Buffs are made at regular intervals and last for 30 seconds. There seems to be several patterns of buffs. At the present time, we have not confirmed that the same effect will be activated continuously. ● Checked buff list The effects of mushrooms are almost invalidated †Like the other 4 FORCEMEN, most mushrooms are invalidated. Since hard menstruation before battle is prohibited in the hard and nightmare, the use of mushrooms is limited during battle. Black Thunder attack pattern †Black · Thunder uses melee attacks mainly. Once you hit, there is a possibility that the HP may be cut at once in 4 consecutive combos, so you should absolutely avoid the shot. Rotary Attack †Attack approaching while rotating. As the hit judgment is large, it is best to avoid it a little around the circumference. 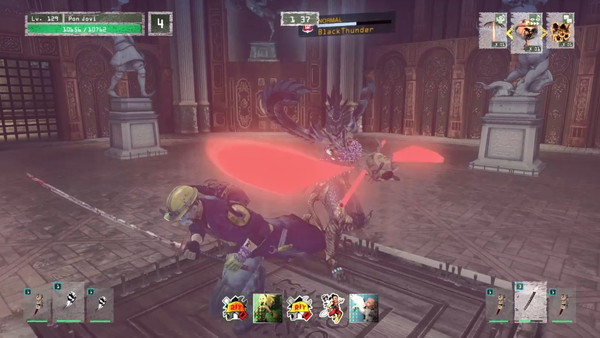 Middle attack 4 consecutive blows †Proximity attack of total of 4 attacks in total. 2 From the shoot, do not use it unless you are nearby. It is effective to induce an attack by closely approaching because it becomes a great opportunity after 4 consecutive shots. Because the four consecutive strikes may use rotational attacks, it is better not to let yourself get out of hand even if they are away. 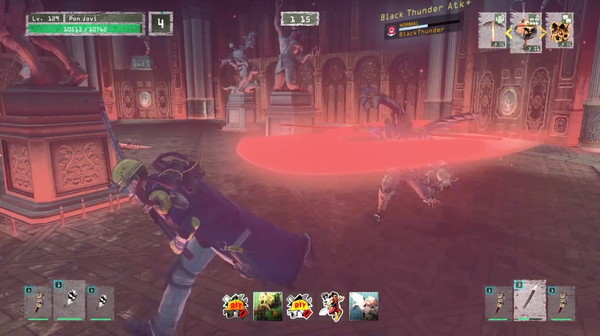 Neck of Medusa †Attack which fly the medusa's neck which it has on the left hand. Because it will be tracking for a long time, let's hit the surrounding object and let it explode. ※ Hard, Nightmare rise to power that Medecus' neck attack can not be taken care of It has a poison attribute, and there is a possibility of getting into a state of poison when hit directly. Although it does not become a poison state if it is 1 degree of battle, it becomes a poison state when it hits several times. 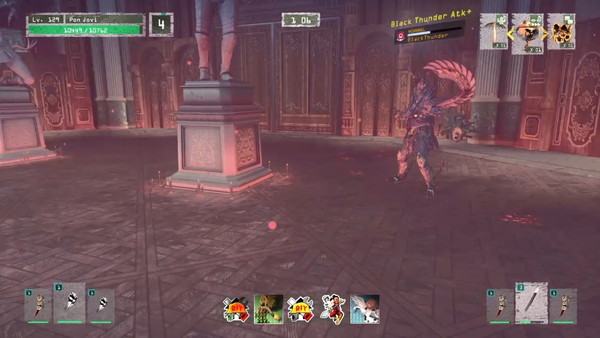 Neck of Medusa (Proximity) †She pushes me out of the medusa's neck. Damage is low, and the range of attack is narrow, so it is not necessary to be very wary. 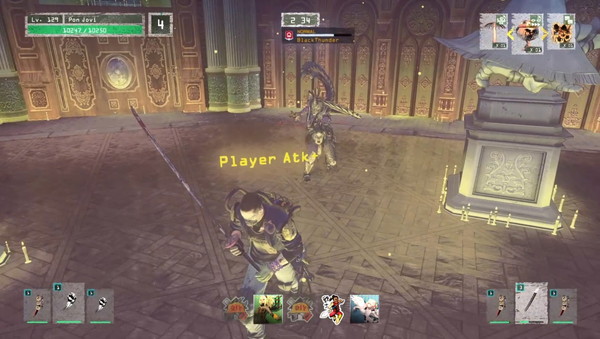 Shock wave (Rage gauge decrease) †Attack that generates a shock wave with foot stepping. There is no damage to the shock wave itself, but if it hits it will be blown away and the rage gauge will decrease by one. If you jump with good timing, you can approach the shock wave avoiding it. 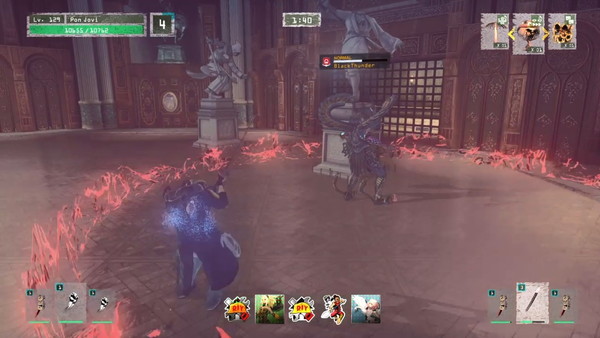 Rage Move (Light Vajra) †Raji Move of Light Vajra. A red frame appears around, and thunder drops within that range. Although the damage of the lightning itself is not large, because the movement stops due to paralysis, let's leave the place as soon as it is activated. 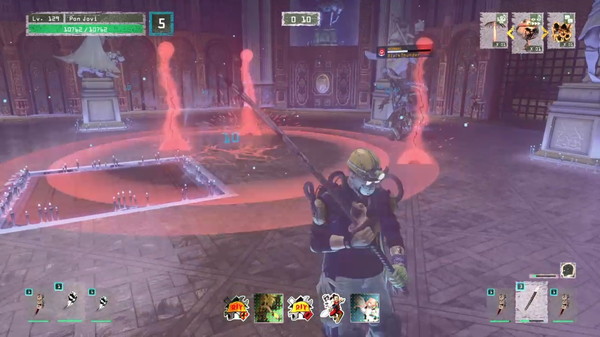 Rage Zube (the neck of Medusa) †A narrow red frame appears and attacks that keep cutting HP when it is in it. Because the momentum of HP scraping is large, let's run away with a dash if it is activated. 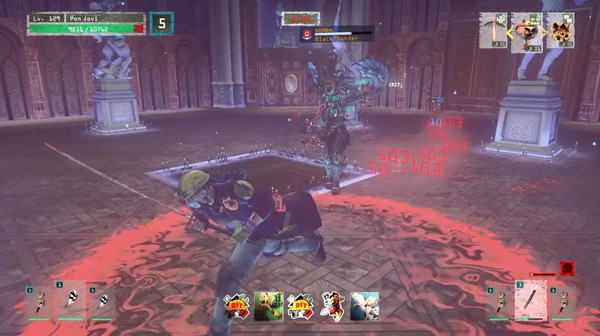 Mushroom invalidation †Not only does it invalidate the effect of mushrooms but also a wave with a slight amount of damage and a blown effect. During this action Black Sander is crouching, but because it is no longer accepting attacks, there is no merit to approach. If you are blown away you will not be able to escape from the subsequent attacks, so be sure to take a passive and get yourself back on track instantly even if you are prevented or skipped by a guard. 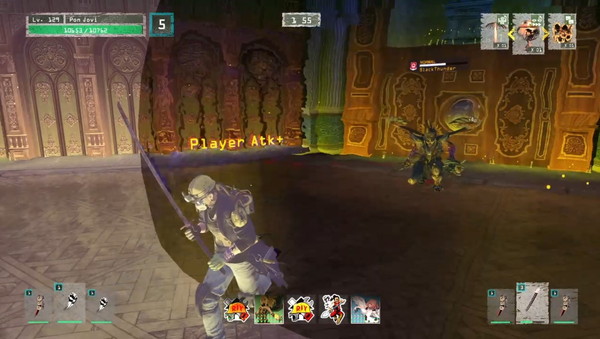 To defeat Black Thunder †Black Thunder's rough attack opportunities are three. 1 · After melee attack Do not miss the moments of the moment because you will be counterattack unless you hurry to attack. COLOR (red) {There are gaps such as provocation and frustration, but since there is almost no opportunity, let's attack if there is a timing that can be aimed at by chance. } 1 · After melee attack †After a melee attack, you can put 1 or 2 attacks. After a spin attack, you have to narrow down the distance and fight back, but there are a few tricks to aim at after 4 consecutive shots. COLOR (red) {1 As it dares dare to come after the shoot, it is a little dangerous because we must induce 2nd to 4th shots. } Let's become accustomed to movement with low risk. 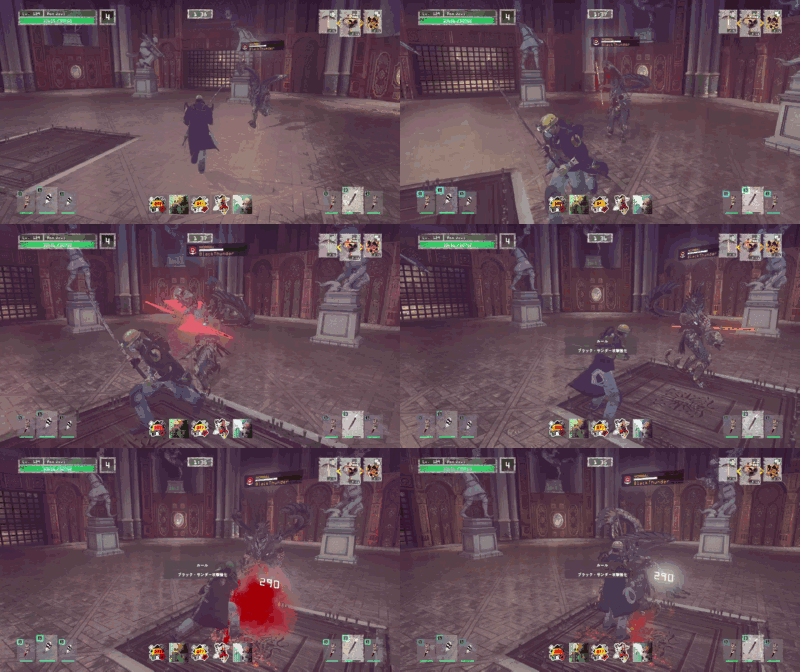 ▲After a revolting attack
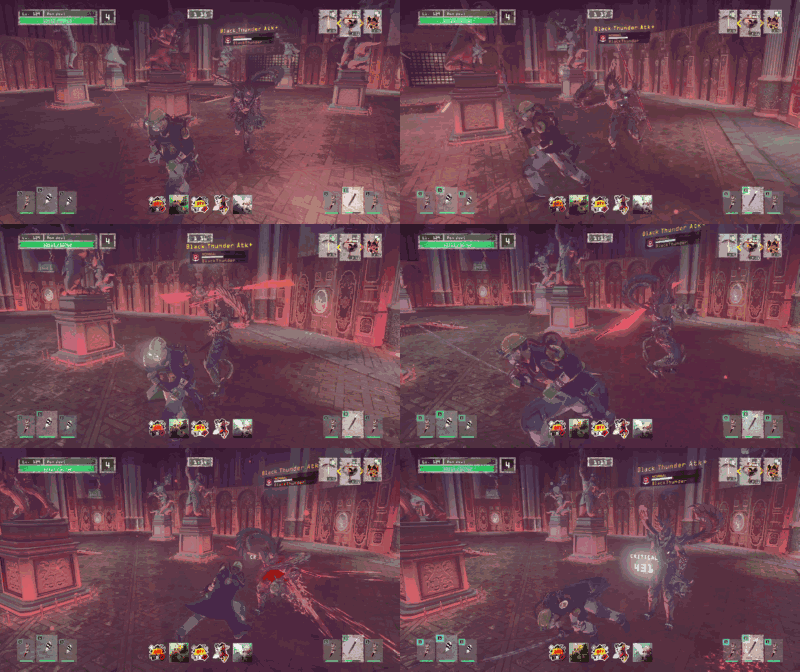 ▲Attack from 2 to 4 trigger
2 · After the occurrence of shock wave †The gap after shock wave generation is relatively easy to get used to. There is little risk of failure, so you can challenge safely. COLOR (red) {Let's jump at the same time as the foot stepping is over, let's approach the enemy by the landing as far as possible. Successfully after landing, one or two shots can make an attack. } 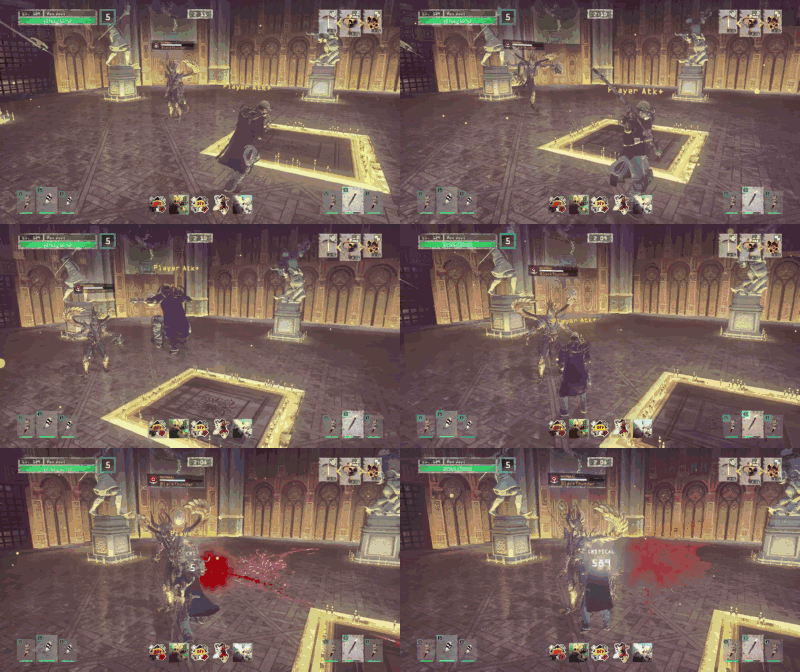 3 · Raja Vajra's Raji Move †When Raji Move of Light Vajra occurs, you can attack by taking the enemy's back. Let's be careful not to get into Rage Zube's occurrence range by stepping too far. What level and equipment are necessary to beat down? †normal †If the player has reached 40F, you can defeat it with a margin. If you have the power of the fourth stage class, you can destroy it in about 3 to 6 shots. hard †Although the behavior itself is the same as normal, attack and defense power and HP are not so much compared. Fourth stage Equipment of weapons and armor must also raise various status by the decal as basic line. At the hard point, if you use the high-power fourth-stage weapon with attack power up mushrooms, HP can be scraped away with a margin so you do not need to use candle / wolf system equipment. nightmare †At Nightmare, elements that automatically upgrade the attack power and defense power of candle and wolf group weapons and armor are added. Since this buffing effect itself is an essential element, it is better to consider it practically impossible to capture other than COLOR (red) { candle and wolf weapons and armor. } It has been confirmed that the weapon is approximately twice as large, and that it comes to nearly four times as much as armor. Let's challenge after combining both weapons and armor with Candle and Wolf system. Featured Page †
|